


Sometimes when remotes stop working, the problem could be from old batteries left in the remote that leaked battery acid and caused corrosion to appear. This guide will help you take apart and clean the corroded areas in a Nintendo Wii remote. As this deals with batteries that leaked, safety precautions should be in place, like gloves and proper disposal of the batteries.
It is important to note that while this guide helps clean corrosion, batteries are not the only cause of faulty remotes, since water damage can also cause corrosion on the motherboard.
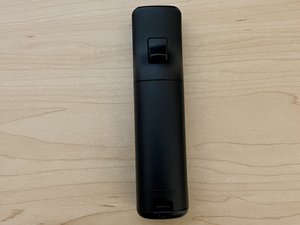
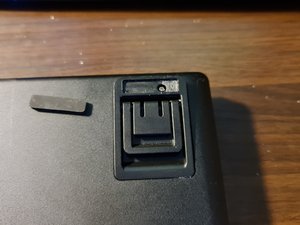
Remove the battery cover and the batteries.
Remove the four tri-point Y1 screws holding the remote together.
Using an opening tool, apply pressure to the tabs located near the "A" button.
The tabs can break, but the remote will still work even if they do break.
Remove the faceplate.
To remove the motherboard, press up on the "B" button, and then the connector at the bottom.
Unclip the tabs to remove the plastic piece.
On the back, move the vibration motor out of the way to completely remove the plastic piece.
Find any corrosion on the motherboard.
Corrosion on the motherboard will have a blueish color and may appear in multiple places.
Check the battery terminals for corrosion.
If batteries leaked in the remote, there will be corrosion on the terminals.
Clean the corroded areas with isopropyl alcohol and a toothbrush.
Q-tips can be used instead of a toothbrush.
Cleaning won't make look it perfect, but the remote will work again.
Clean the terminals with isopropyl alcohol and a toothbrush or Q-tips.
It is difficult to remove this piece, so clean it as good as you can. Using more isopropyl alcohol helps here.
-
 微信公众号
微信公众号